Map › Guides › Buying Gear & Keeping It Alive › How to inspect a used kite before you buy it
The Kitesurfing Compendium · Buying Gear & Keeping It Alive
How to inspect a used kite before you buy it
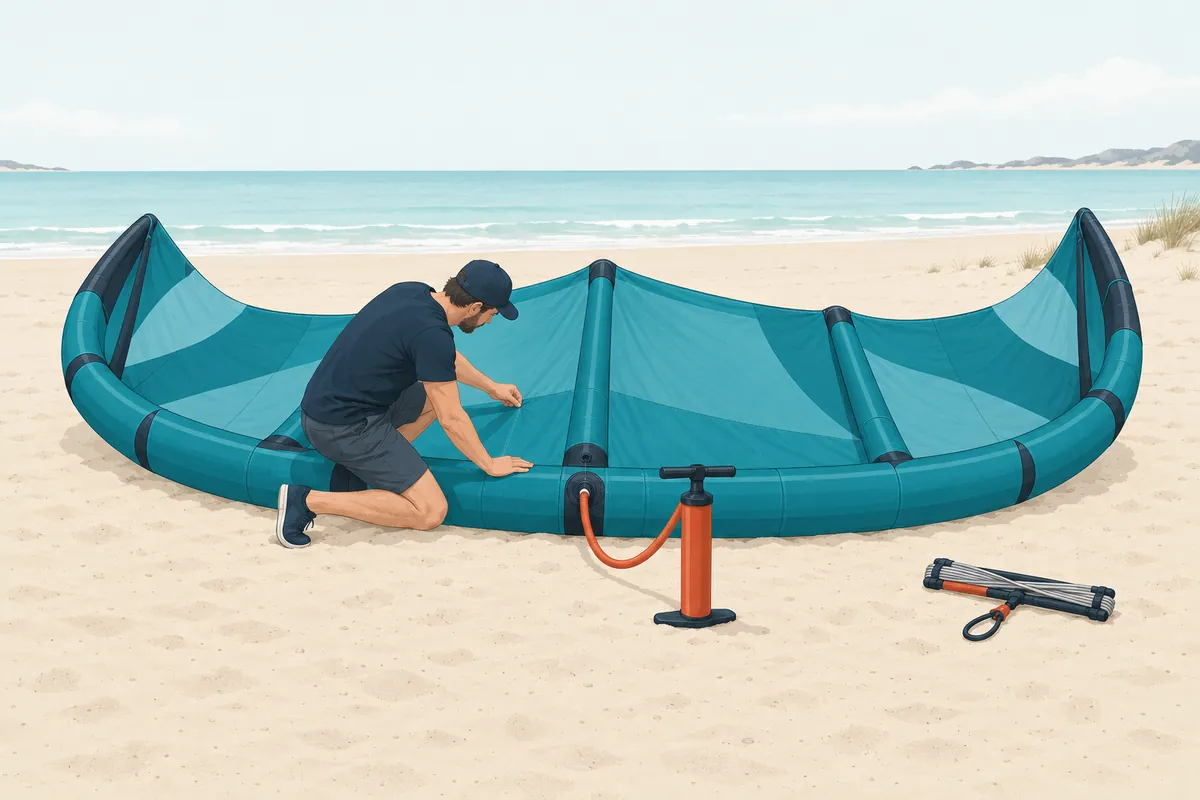
Bring a pump. Never buy a tube kite that you, or a trusted and experienced friend, have not inflated and handled; if a seller will not let you pump it up, walk away. The full inspection takes fifteen to twenty minutes and can save you several hundred dollars in hidden repairs.
- Pump it up hard and wait. Inflate to firm riding pressure, 6–9 psi on most kites, and leave the kite for 20–30 minutes at minimum, overnight if you can, while you inspect everything else. Any visible softening is a leaking bladder or valve, a $50–150 job per bladder in 2026 if you do it yourself and more at a loft. Squeeze each strut on its own: struts are isolated by clamps on many kites and can hide their own leaks. Spray soapy water on a suspect area and watch for bubbles.
- Test canopy crispness. Hold the canopy up to the sun and look through it for pinholes, small tears, and old patches. Then do the crinkle test: hold the cloth near your ear and scrunch it. Healthy ripstop is crisp and crackly and rustles like a paper bag. Cloth that has gone soft and quiet has been UV-cooked and stretched, has lost coating and tensile strength, flies noticeably worse and will tear in the next big crash. Follow with the gentle stretch test: press a thumb into the canopy. Tired fabric feels stretchy and dead; healthy fabric springs back. Walk away, or price it as a beater.
- Check the trailing edge. This is the highest-flutter zone and it wears first. Look for fuzzy, abraded stitching and fatigued cloth along its whole length.
- Check sun fade. Compare the inside of a fold with the exposed surface. Heavy fading means heavy UV hours, whatever the seller says about "barely used."
- Walk every seam, the leading edge and the bridles. Run each seam looking for fraying, separation or broken stitches, especially at the wingtips, the strut junctions and anywhere scuffed from beach dragging. Run each bridle line through your fingers: no fuzz, no kinks. Check that any pulleys spin freely, without corrosion, and are not ground flat.
- Inspect valves and one-pump hoses. Sticky, gooey, brittle or lifting valves mean the glue is breaking down, usually from being stored hot; a car boot in summer will do it in one afternoon. A single peeling valve is repairable for $10–25 in parts, or $40–60 at a loft, 2026 prices. Several failing valves signal a heat-damaged kite. Check that the little one-pump hose clips are all present.
- Interrogate the repairs. Professional loft work, meaning neat stitching and matched cloth panels, is nothing to fear: a properly repaired panel is as strong as new and barely moves the price. Duct tape, hand-sewn patches, glue blobs, a big Tear-Aid patch on the leading edge, or a repair the seller "forgot" to mention are red flags. Ask directly: has it been repaired, and where?
- Test the bar, the most safety-critical item you will buy. Check the depower and trim line, the grey rope, for fuzzing; it is the number-one wear item. Check the centre lines where they run through the bar hole, which is a chafe point, and look for cracks in the chicken-loop plastic. Then, non-negotiable: fire the quick release and reassemble it. It must fire crisply with one push and go back together easily. If it does not, the bar is not airworthy. Sheeting should slide smoothly, with no gritty feel of sand in the trim system.
- Audit the lines. Run each line through your fingers feeling for cuts, nicks, flat spots and knots; a knot costs a line up to half its strength. Then check lengths: anchor all four or five lines to a fixed point and walk them out under equal tension. The ends should align within 1–2 cm. Well-used lines usually shrink rather than stretch, which surprises people: as the coating wears, the salt and sand work into the weave and shorten it, and centre and steering lines shrink at different rates, which ruins bar trim. Uneven lines are often fixable by moving knots on the pigtails. Severely uneven or furry lines mean a new line set, $100–180 in 2026.
- Ask where it lived, and look at the bag. A kite stored damp goes mouldy and delaminates; stored hot, the valves fail. "Garage, dry, in its bag" is the answer you want. The bag itself testifies. A mouldy, sand-filled bag bleached by the sun tells you how the kite was treated. Sellers who cared usually show the bag off.
Watch · 3


FAQ
Should I buy my own kite before lessons?
No, with one exception. Until you have flown school kites in your own local wind you cannot know your size, and you will crash whatever you buy. The exception is a trainer kite at $100-300 in 2026.
What kite size should I buy first for my weight?
A 12m is the usual first all-rounder for a 70-80 kg rider in 14-18 knots. Under about 70 kg go a size or two smaller, over about 90 kg a size or two larger. If you can afford one kite, buy the big one.
More from Buying Gear & Keeping It Alive
The other articles in this chapterThe Fundamentals · Learning the Sport · The Gear · Buying Gear & Keeping It Alive · Tech & Innovation · Wind, Weather & Water · Safety & Risk · When Things Go Wrong · Rules & Etiquette · Advanced Riding · Spots of the World · Practical Tricks & Life Hacks · The Video Library · Field Notes & Extras