Map › Guides › Practical Tricks & Life Hacks › How to make kite gear last longer
The Kitesurfing Compendium · Practical Tricks & Life Hacks
How to make kite gear last longer
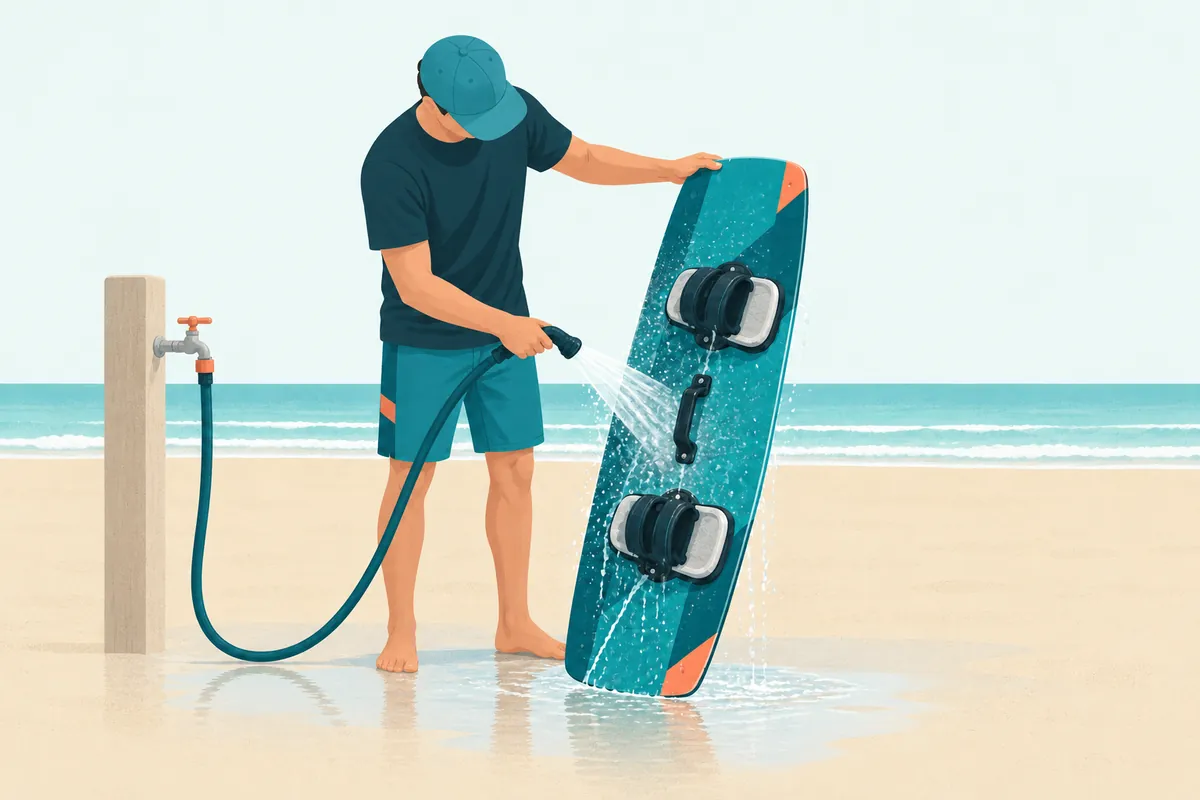
A kite that lasts six seasons instead of three is the cheapest performance upgrade there is. The habits that get you there:
- Dry before packing, always. Packing a wet kite occasionally is fine. Doing it habitually breeds mould and delaminates coatings. Let the kite dry inflated on the beach after the session, then brush the sand off.
- Rinse strategically. The bar gets fresh water after every session, because salt crystals abrade the depower line and jam the quick release. Wetsuits and harnesses get rinsed and drip-dried in shade after each use. Kites need a rinse mainly before longer storage, and they must dry fully afterward.
- UV is the real killer. Sunlight degrades canopy cloth faster than crashes do. Never leave a kite parked and flapping on the beach for hours ready to go. Deflate it, or at least weight it with sand, and store everything out of the sun.
- Do not drag, do not flap. Dragging a kite across the beach sands down the trailing edge, and a kite left flapping at the edge of the wind window is beating its own stitching apart.
- Small repairs immediately. A 2 cm canopy tear costs a €10 ripstop patch in 2026: clean dry surface, round the corners, patch both sides. One more session and it is an €80 panel replacement in 2026. Carry ripstop tape, bladder patches (TPU tape, held under pressure 30 minutes), a spare line and a valve.
- Storage. Everything bone dry, loosely folded, away from heat and sun. Hang wetsuits on wide hangers or fold them over a rail; a thin wire hanger creases the shoulders permanently. Release board footstrap tension. Before a long break, check the bladders hold pressure, so the first session of the season is not a repair day.
- Lines and safety systems age invisibly. Inspect lines for wear at the knots and sleeves, check they are still equal length by tying them to a fixed point and comparing under tension, and replace a frayed depower line before it replaces itself mid-jump.
Watch · 2

More from Practical Tricks & Life Hacks
The other articles in this chapterThe Fundamentals · Learning the Sport · The Gear · Buying Gear & Keeping It Alive · Tech & Innovation · Wind, Weather & Water · Safety & Risk · When Things Go Wrong · Rules & Etiquette · Advanced Riding · Spots of the World · Practical Tricks & Life Hacks · The Video Library · Field Notes & Extras